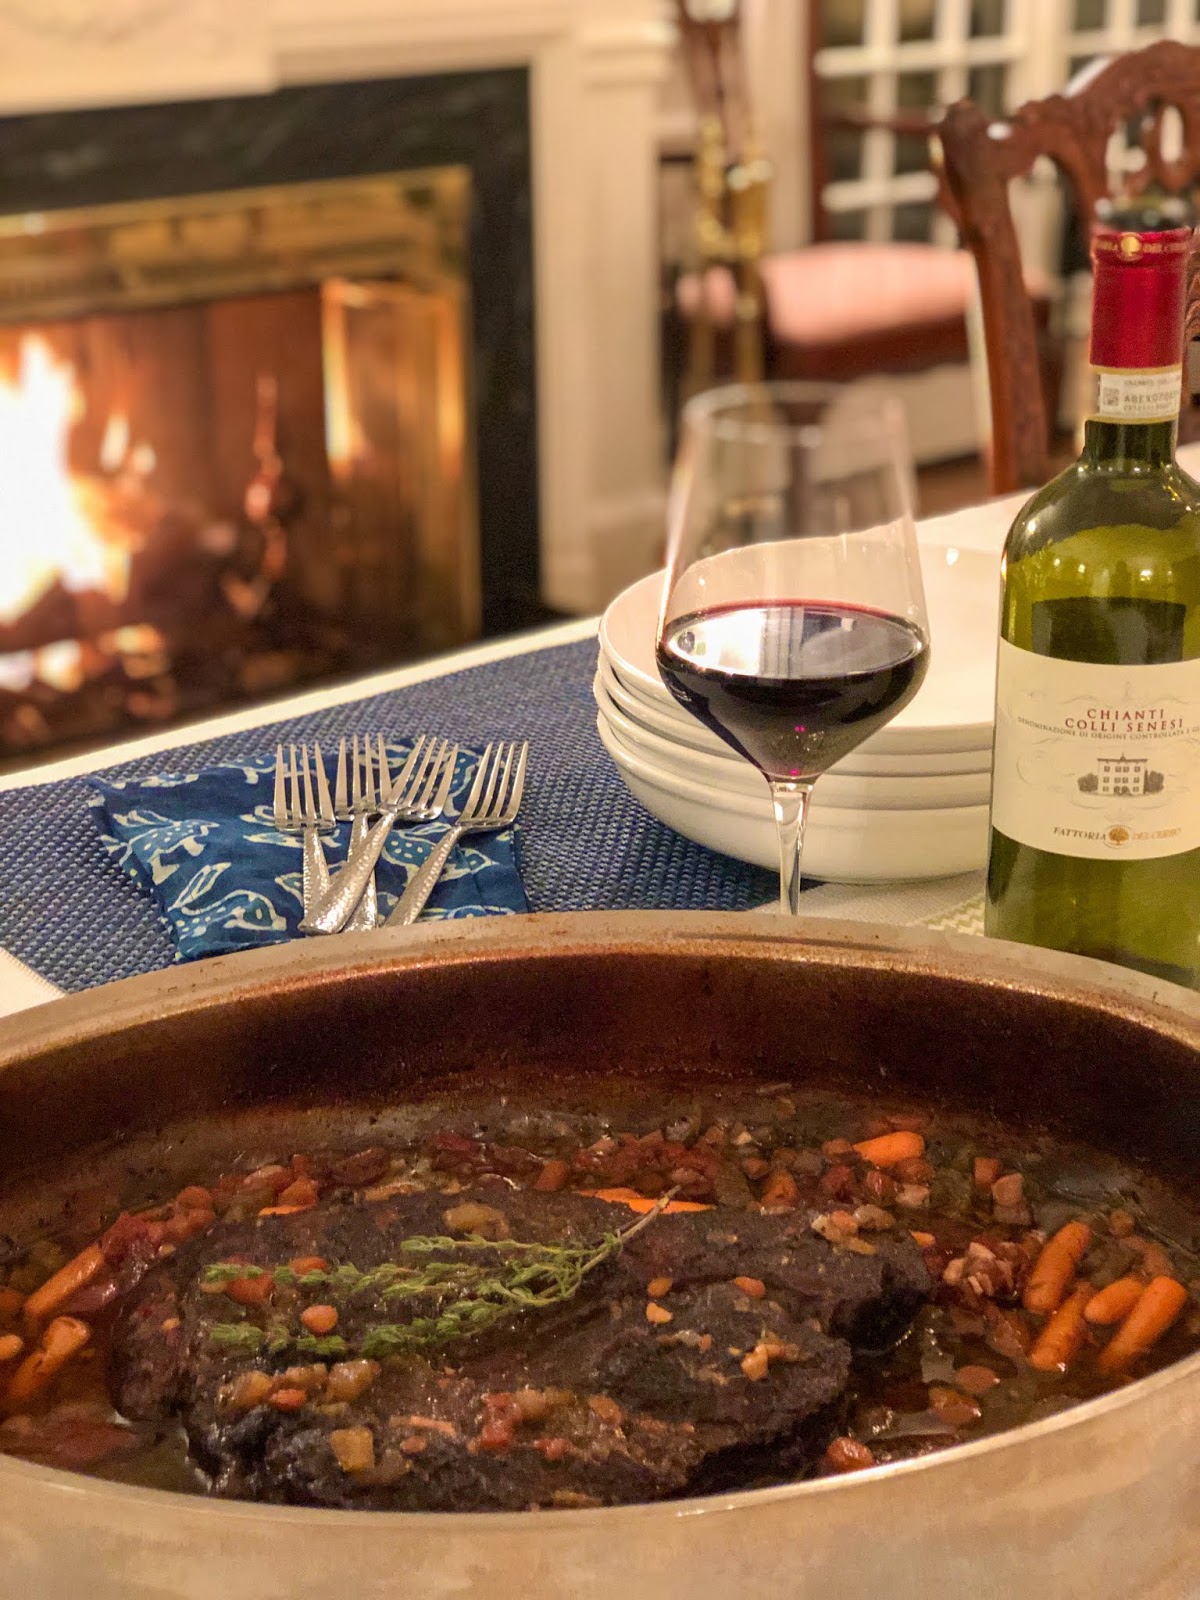
This Red Wine Braised Beef
recipe is a delicious and comforting wintertime meal that’s simple to make and
perfect for a cozy night in. Serve this dish along side with creamy garlic
mashed potatoes, crusty baguette bread and a bottle of bold cabernet and you
have yourself hearty meal.
During the cold winter months in Buffalo, I love
nothing more than satisfying my comfort food cravings by making a meal that not
only warms my stomach but warms my heart and soul. The recipe I am sharing with
you, Red Wine Braised Beef, is a quintessential
hearty dish that wraps you with comfort and warmth, especially on a snowy day.
One of my favorite methods of cooking beef during
the winter season is braising. Braising is a cooking technique that sounds
complicated but it’s actually quite simple ~ I call it the “low, slow and closed” method. It allows you to cook a less-tender,
less-expensive cut of beef in liquid on a low temperature, in a covered pan,
for several hours. This technique guarantees the most tender, moist and
flavorful results.
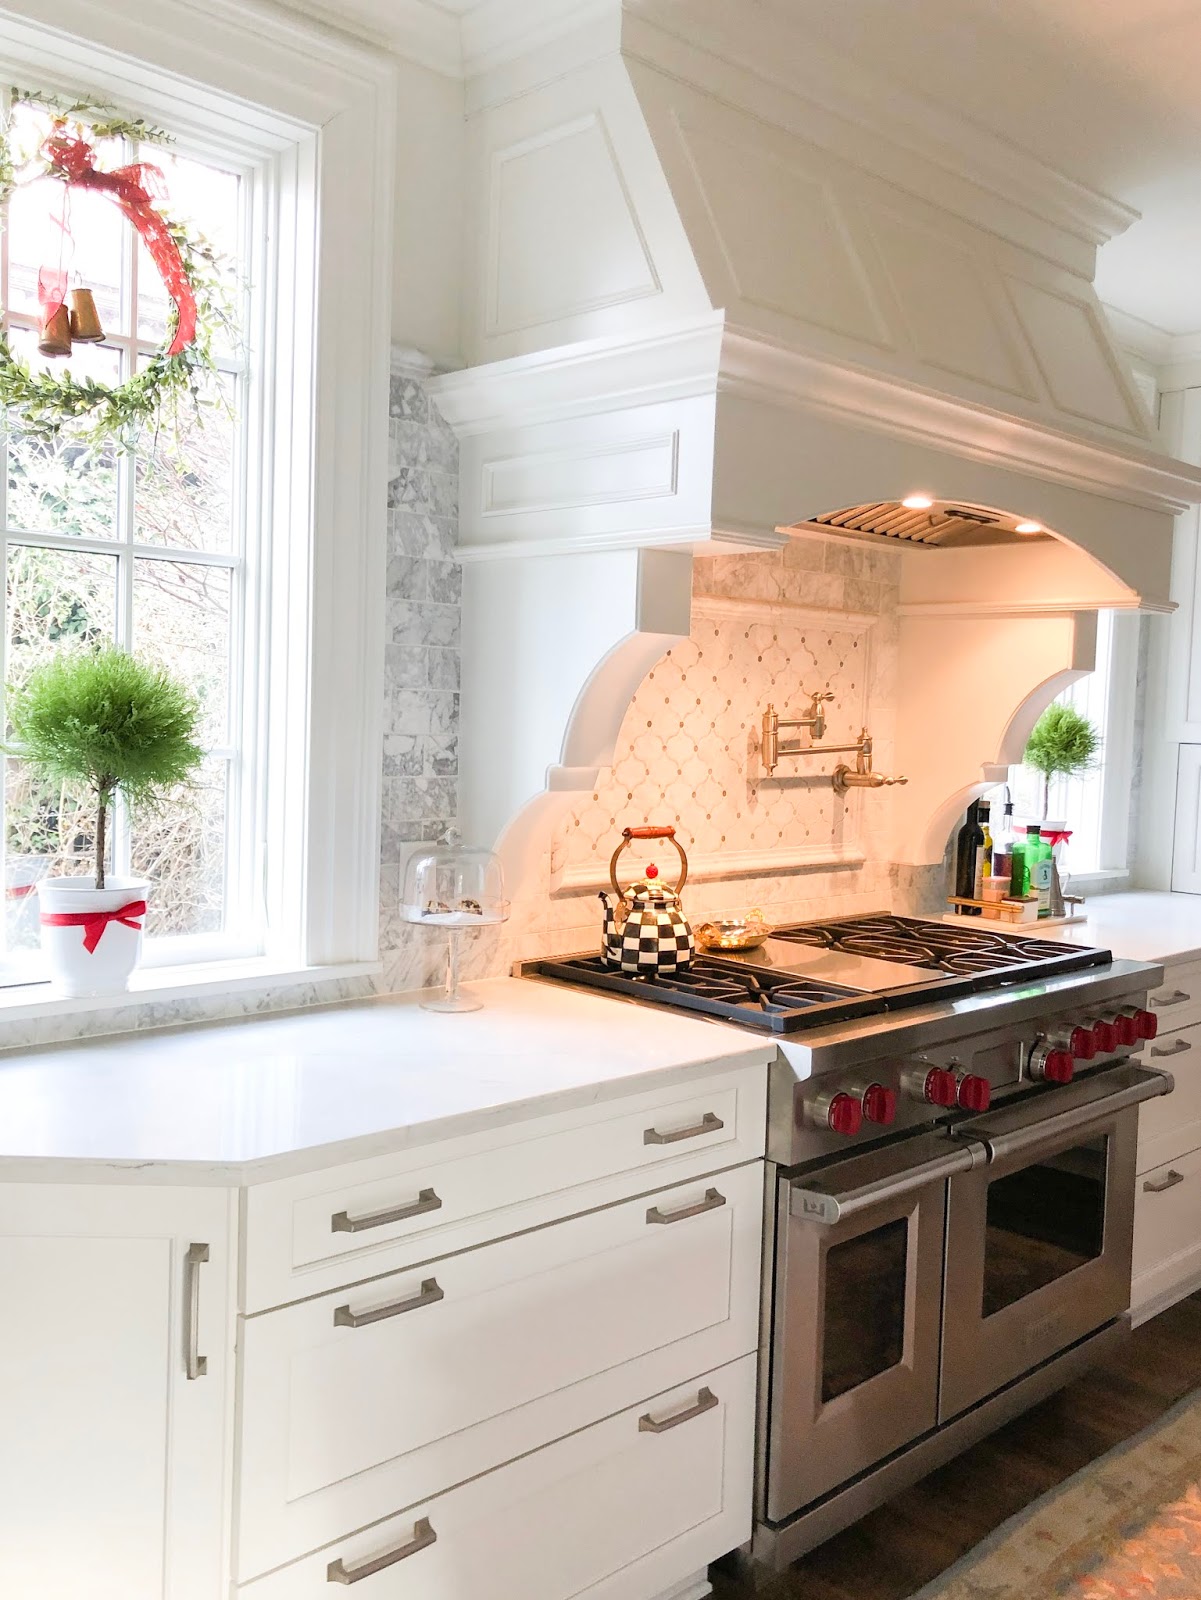
The beauty of braising is that it’s easy, hands-off
and foolproof. This braised beef recipe calls for about 30 minutes of prep time
and after that your oven will do the rest of the work. During that 30 minutes
of prep time there are a few key steps that you should not neglect. 1. Pan sear/brown the meat on both sides
and season generously prior to braising ~ this really helps to enhance and
intensify the overall flavors and develops a deep rich caramel color to the
beef. 2. Deglaze the pan with the
stock and red wine ~ this lifts the brown bits of meat stuck to the pan to
create a base for the gravy sauce. And 3. Thicken
the sauce after the meat is fork tender. The liquids and flavors of the
beef, vegetables and herbs cooking for hours and hours will develop a robust
flavorful sauce. Mixing flour and butter into the liquid will create a thicker
consistency making it a perfect topping to the braised beef and creamy garlic
mashed potatoes.
I so enjoy braising on the weekends because it
allows me the opportunity to relax and take my time while preparing and
creating a delicious meal for my family. This Red Wine Braised Beef recipe is a
beloved favorite and staple in our home. It creates the most savory and succulent aromas throughout
the entire house, which makes my three teenage sons and husband oooh and ahhh. So
the next time you are looking for a hearty comfort food meal on a cold wintery
day, look no further and start braising. It’s the perfect meal to cozy up to a roaring fire, listen to
some classic jazz music, and enjoy a big glass of cabernet. Cheers to Red Wine
Braised Beef ~ a meal that warms the heart and soul during a cold winters’ day!
Red Wine
Braised Beef with Creamy Garlic Mashed Potatoes
Prep and cook time: 4
½ hours
Serves: 6
Ingredients for
Braised Beef:
·
4 – 4 1/2 lbs. beef chuck roast
·
2 tbsp. olive oil
·
1 medium onion
·
8 garlic cloves, coarsely chopped
·
3 large carrots, peeled and finely chopped
·
3 celery stalks, finely chopped
·
¼ cup diced pancetta (or bacon)
·
small bunch of thyme
·
1 bay leaf
·
2 tbsp. of tomato paste
·
14 oz. can of diced tomatoes with juice
·
3 cups of chicken stock, *and an additional 1
cup reserved
·
2 cups red wine
·
3 tbsp. butter
·
2 tbsp. flour
·
kosher salt and freshly ground pepper for
seasoning
·
Ingredients for
Garlic Mashed Potatoes:
·
4 tbsp unsalted butter
·
2 cloves garlic, smashed or finely minced
·
2 lbs russet potatoes, peeled and cut into
chunks
·
1 ¼ tsp salt
·
¾ cup heavy cream
·
¼ tsp black pepper
Instructions:
1.
Preheat oven to 325 degrees.
2.
Add olive oil to a large dutch oven pan and heat
medium to high over stove top. Generously season/sear both sides of the beef
with kosher salt and ground pepper.
Brown beef in dutch oven pan for approximately 5-7 minutes on each side
or until it reaches a deep caramel color. Remove from pan and set aside.
3.
Add 1 tbsp. of butter, onion, garlic, carrots ,celery
and pancetta to dutch oven pan and
stir until for a few minutes until slightly soften. Season with salt n pepper.
4.
Add tomato paste, diced tomatoes with juice,
thyme (left whole), bay leaf and chicken stock to pan and bring to a boil
scraping up any beef bits on bottom of pan. Reduce heat to low.
5.
Add beef back to dutch pan along with any
residual juices.
6.
Now add the red wine over the beef. Make sure
there is enough liquid in the pan almost covering the beef.
7.
Cover pan and braise in the oven for 3 ½ - 4 ½ hours,
or more. The beef will be done when it is very tender and flakes apart easily
with a fork. *Check on beef after 2 hours or so. Liquid will reduce by some but
make sure to add reserved stock to keep beef moist and to allow for plenty of
sauce.
8.
For Gravy Sauce: When beef is done
remove beef from pan and place on a platter. There may be visible fat oils on the top of braising sauce~
use a spoon to scoop some of it out and discard. Remove bay leaf and thyme
sprigs. There should be approximately 2 cups of braising liquid in the pan. If
not, add extra chicken stock. In a small bowl melt 2 tbsp. of butter and add
flour, mix with a fork until a paste forms. Whisk it into the braising liquid
until it’s a thicker consistency.
9.
Serve the Red Wine Braised Beef with Creamy
Garlic Mashed Potatoes.
Instructions for Creamy
Garlic Mashed Potatoes:
1. In
a medium saucepan, melt butter over medium-low heat. Add garlic and cook
stirring occasionally, until garlic caramelizes, 7 minutes or so. Remove from
heat; let cool slightly.
2. Chop
garlic and return to saucepan. Add cream and warm over medium heat.
3. Meanwhile,
in a medium saucepan, combine potatoes and 1 teaspoon salt. Add just enough
water to cover potatoes. Bring to a boil over high heat and cook until potatoes
are tender and can be pierced with a fork easily. Remove from heat and drain.
Return potatoes to saucepan and cook over low heat, mashing with a heavy wisk or
masher. Add garlic cream mixture and combine mashing until creamy and smooth.
Season with salt and pepper and mix well. Keep warm until ready to serve.
This dish can be made ahead and
reheated the next day. The flavors get better and richer after sitting for 24
hours.